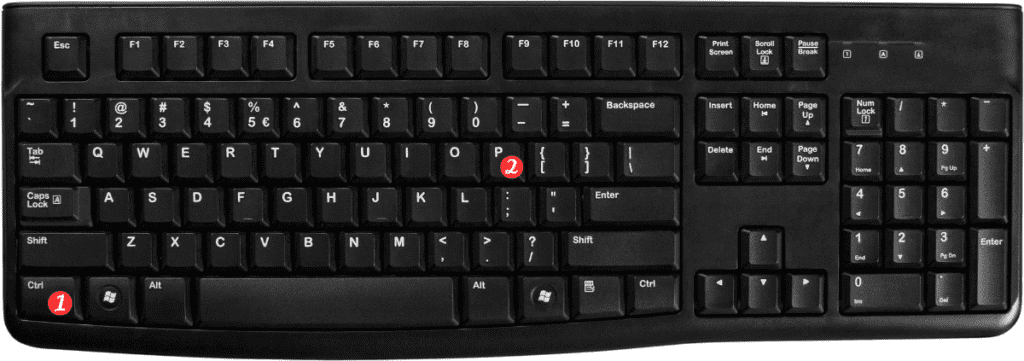
Printing an Excel file is an essential task for professionals and students alike. It allows you to share your data with others and create hard copies for reference. But, clicking through the Excel menus to print a file can be time-consuming. Luckily, there is an Excel keyboard shortcut that can save you time and effort.
Keyboard Shortcut to Print file In Excel
By pressing Ctrl + P (Windows) or ⌘ + P (Mac), you can quickly open the Print menu and start printing your file.

To use this shortcut, you need to have your Excel file open and ready to print. Once you are ready, press the keyboard shortcut combination, and the Print menu will appear. From there, you can select your printer and set your printing preferences, such as the number of copies, page orientation, and page size.
Notes and Points to Remember:
- If you want to print a specific area or selection of cells, highlight the area before pressing the keyboard shortcut.
- This will open the Print menu with the selection pre-defined.
- If you need to print multiple Excel files at once, you can select them all in File Explorer or Finder and press the keyboard shortcut.
- This will open the Print menu for all selected files simultaneously.
- Be aware that the keyboard shortcut for Print may be different in other programs or applications.
- Always check the program’s documentation or help section for the correct shortcut.
In conclusion, the Excel keyboard shortcut for Print file is an excellent way to save time and streamline your printing process. By using this shortcut, you can open the Print menu with just a few keystrokes and quickly print your file.
Remember to take note of the tips and points to remember to make the most out of this Excel keyboard shortcut.
