Excel provides a range of keyboard shortcuts to speed up your work process. One such shortcut is the Keyboard Shortcut to Add or Remove Border Left In Excel. This keyboard shortcut is particularly helpful when you want to enhance the readability and aesthetics of your Excel worksheets.
Keyboard Shortcut to Add or Remove Border Left In Excel
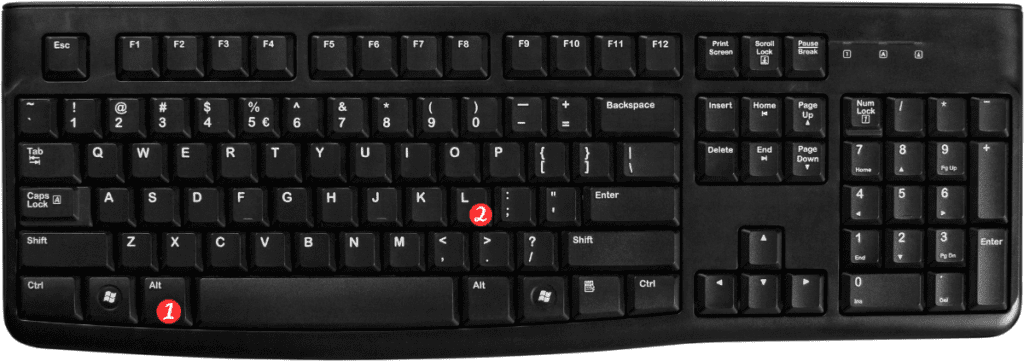
The keyboard shortcut to add or remove border left in Excel is Alt + L for Windows and ⌘ + ⌥ + ← for Mac. With this shortcut, you can quickly add or remove borders on the left side of the selected cells.
Here’s how to use this keyboard shortcut:
- Select the cells where you want to add or remove borders.
- Press the Alt + L keys on Windows or ⌘ + ⌥ + ← on Mac to activate the Borders dropdown menu.
- From the Borders dropdown menu, select the option for adding or removing borders on the left side of the selected cells.
Points to Remember:
- This keyboard shortcut applies to Excel 2019, Excel 2016, Excel 2013, and Excel for Office 365 for Windows and Mac.
- If you have a Macbook Pro with Touch Bar, you can also use the Touch Bar to add or remove borders in Excel. The Touch Bar options will automatically appear when you select the cells and press the ⌘ key.
- You can also use the Ctrl+Shift+7 keyboard shortcut to add or remove borders on all sides of the selected cells.
In conclusion, the Add or remove border left keyboard shortcut can be a real time-saver. With just a few keystrokes, you can add or remove borders on the left side of the selected cells, making your worksheets more organized and professional-looking.