Excel is a powerful tool for managing and analyzing data, and using keyboard shortcuts can help you work more efficiently. One commonly short used is the Keyboard Shortcut to Add or Remove Border Upward Diagonal In Excel. This border can be useful for visually separating different sections of a worksheet.
Keyboard Shortcut to Add or Remove Border Upward Diagonal In Excel
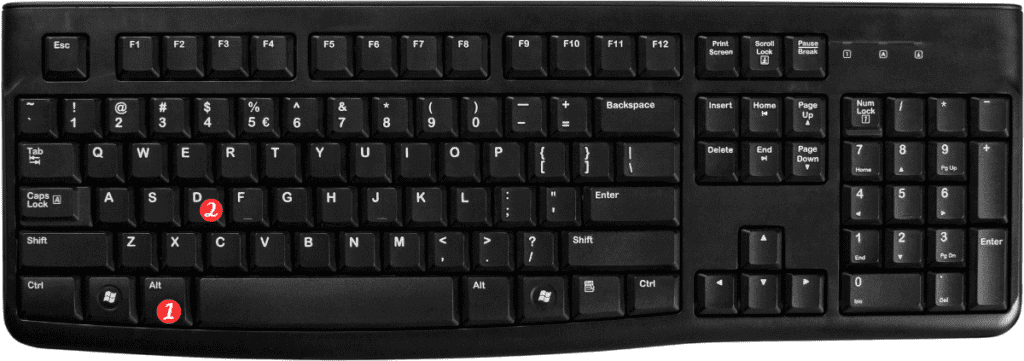
To add or remove an upward diagonal border in Excel using a keyboard shortcut, follow these steps:
- Select the cell or cells where you want to add or remove the border
- Press and hold the Alt key on your keyboard
- Press the letter D on your keyboard (this will open the Borders dropdown menu)
- Press the letter U on your keyboard (this will select the upward diagonal border option)
- Press Enter to apply the border, or press Esc to cancel
That’s it! Using this keyboard shortcut can save you time and mouse clicks when formatting your Excel worksheets.
Points to Remember:
- The upward diagonal border shortcut only works on Windows versions of Excel. Mac users can use the Borders button on the Home tab of the ribbon to access the upward diagonal border option.
- This shortcut can be used with both single cells and ranges of cells.
- To remove the upward diagonal border, simply repeat the shortcut steps and select the “No Border” option from the Borders dropdown menu.