Excel is a powerful tool that can make our work much easier, but it can also be time-consuming to navigate through menus to find the right option. That’s where Excel keyboard shortcuts come in handy. In this blog post, we will focus on how to use the keyboard shortcut to Display Insert Dialog box in Excel.
Keyboard Shortcut to Display Insert Dialog Box In Excel
The Display Insert Dialog box is a useful tool that allows you to insert various elements into your spreadsheet, such as charts, tables, and pictures. Using the keyboard shortcut to open this dialog box can save you a lot of time.
Here’s how to use the keyboard shortcut to Display Insert Dialog box in Excel:
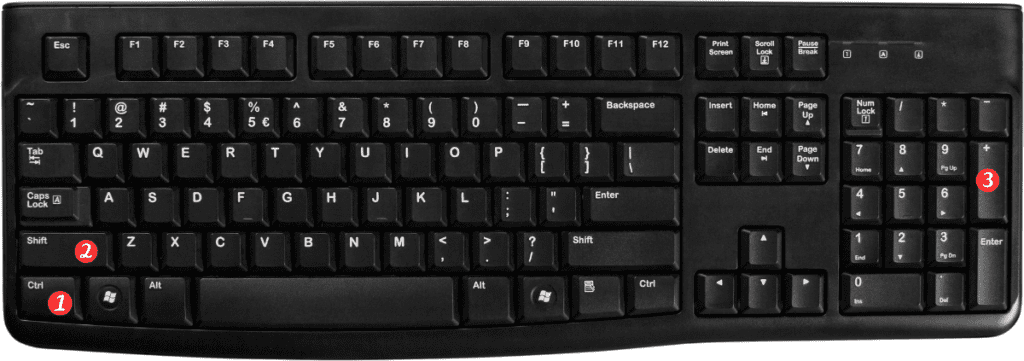
- For Windows: Press Ctrl + Shift+ (plus sign)
- For Mac: Press ⌘ + ⇧ + + (plus sign)
That’s it! The Insert Dialog box should appear on your screen, ready for you to select the element you want to insert.
Points to Remember:
- Make sure that you have selected the cell where you want to insert the element before using the keyboard shortcut.
- You can use the arrow keys on your keyboard to navigate through the options in the Insert Dialog box.
- Once you have selected the element you want to insert, click OK or press Enter to insert it into your spreadsheet.
In conclusion, the keyboard shortcut to Display Insert Dialog box can save you a lot of time and make your work much more efficient. By using this shortcut, you can quickly access the Insert Dialog box and insert the elements you need into your spreadsheet. So next time you need to insert a chart, table, or picture into your Excel sheet, remember to use this keyboard shortcut!